Bright and Airy Real Estate Photography: Tips and Techniques
Master the bright and airy photography style that dominates real estate marketing. Learn camera settings, natural light techniques, editing tips, and how AI presets can achieve this look instantly.
Scroll through any top-performing real estate listing and you will notice a pattern in the interior photography: light-filled rooms, soft shadows, clean whites, and an overall feeling of spaciousness. This is the "bright and airy" style, and it has become the gold standard for interior real estate photography for good reason. It makes rooms look larger, cleaner, and more inviting --- exactly what buyers want to see.
In this guide, we will break down what makes a photo truly bright and airy, how to achieve this look both in-camera and in post-processing, and how AI-powered tools like Twilight can apply this style to any interior photo in seconds.
What Makes a Photo "Bright and Airy"?
The bright and airy aesthetic is defined by several specific visual characteristics that work together:
Lifted Shadows
In a bright and airy image, the darkest areas of the frame are not truly dark. Shadows are lifted significantly, often to a medium gray rather than black. This creates a flat, even tonal range that feels open and light.
Soft, Diffused Light
Harsh, directional light with sharp shadows is the opposite of bright and airy. The ideal is soft, even illumination that wraps around objects and fills corners. Think overcast daylight streaming through sheer curtains rather than a spotlight cutting through blinds.
Neutral to Slightly Warm White Balance
Bright and airy photos lean toward neutral or slightly warm color temperatures --- around 5500K to 6500K. Cool, blue-tinted images feel sterile rather than inviting. A touch of warmth adds life without veering into yellow territory.
Muted, Natural Colors
Colors in a bright and airy image are present but not punchy. Saturation is moderate to low, letting the natural tones of materials and furnishings come through without competing for attention. The palette tends toward whites, creams, soft grays, and natural wood tones.
Open Composition
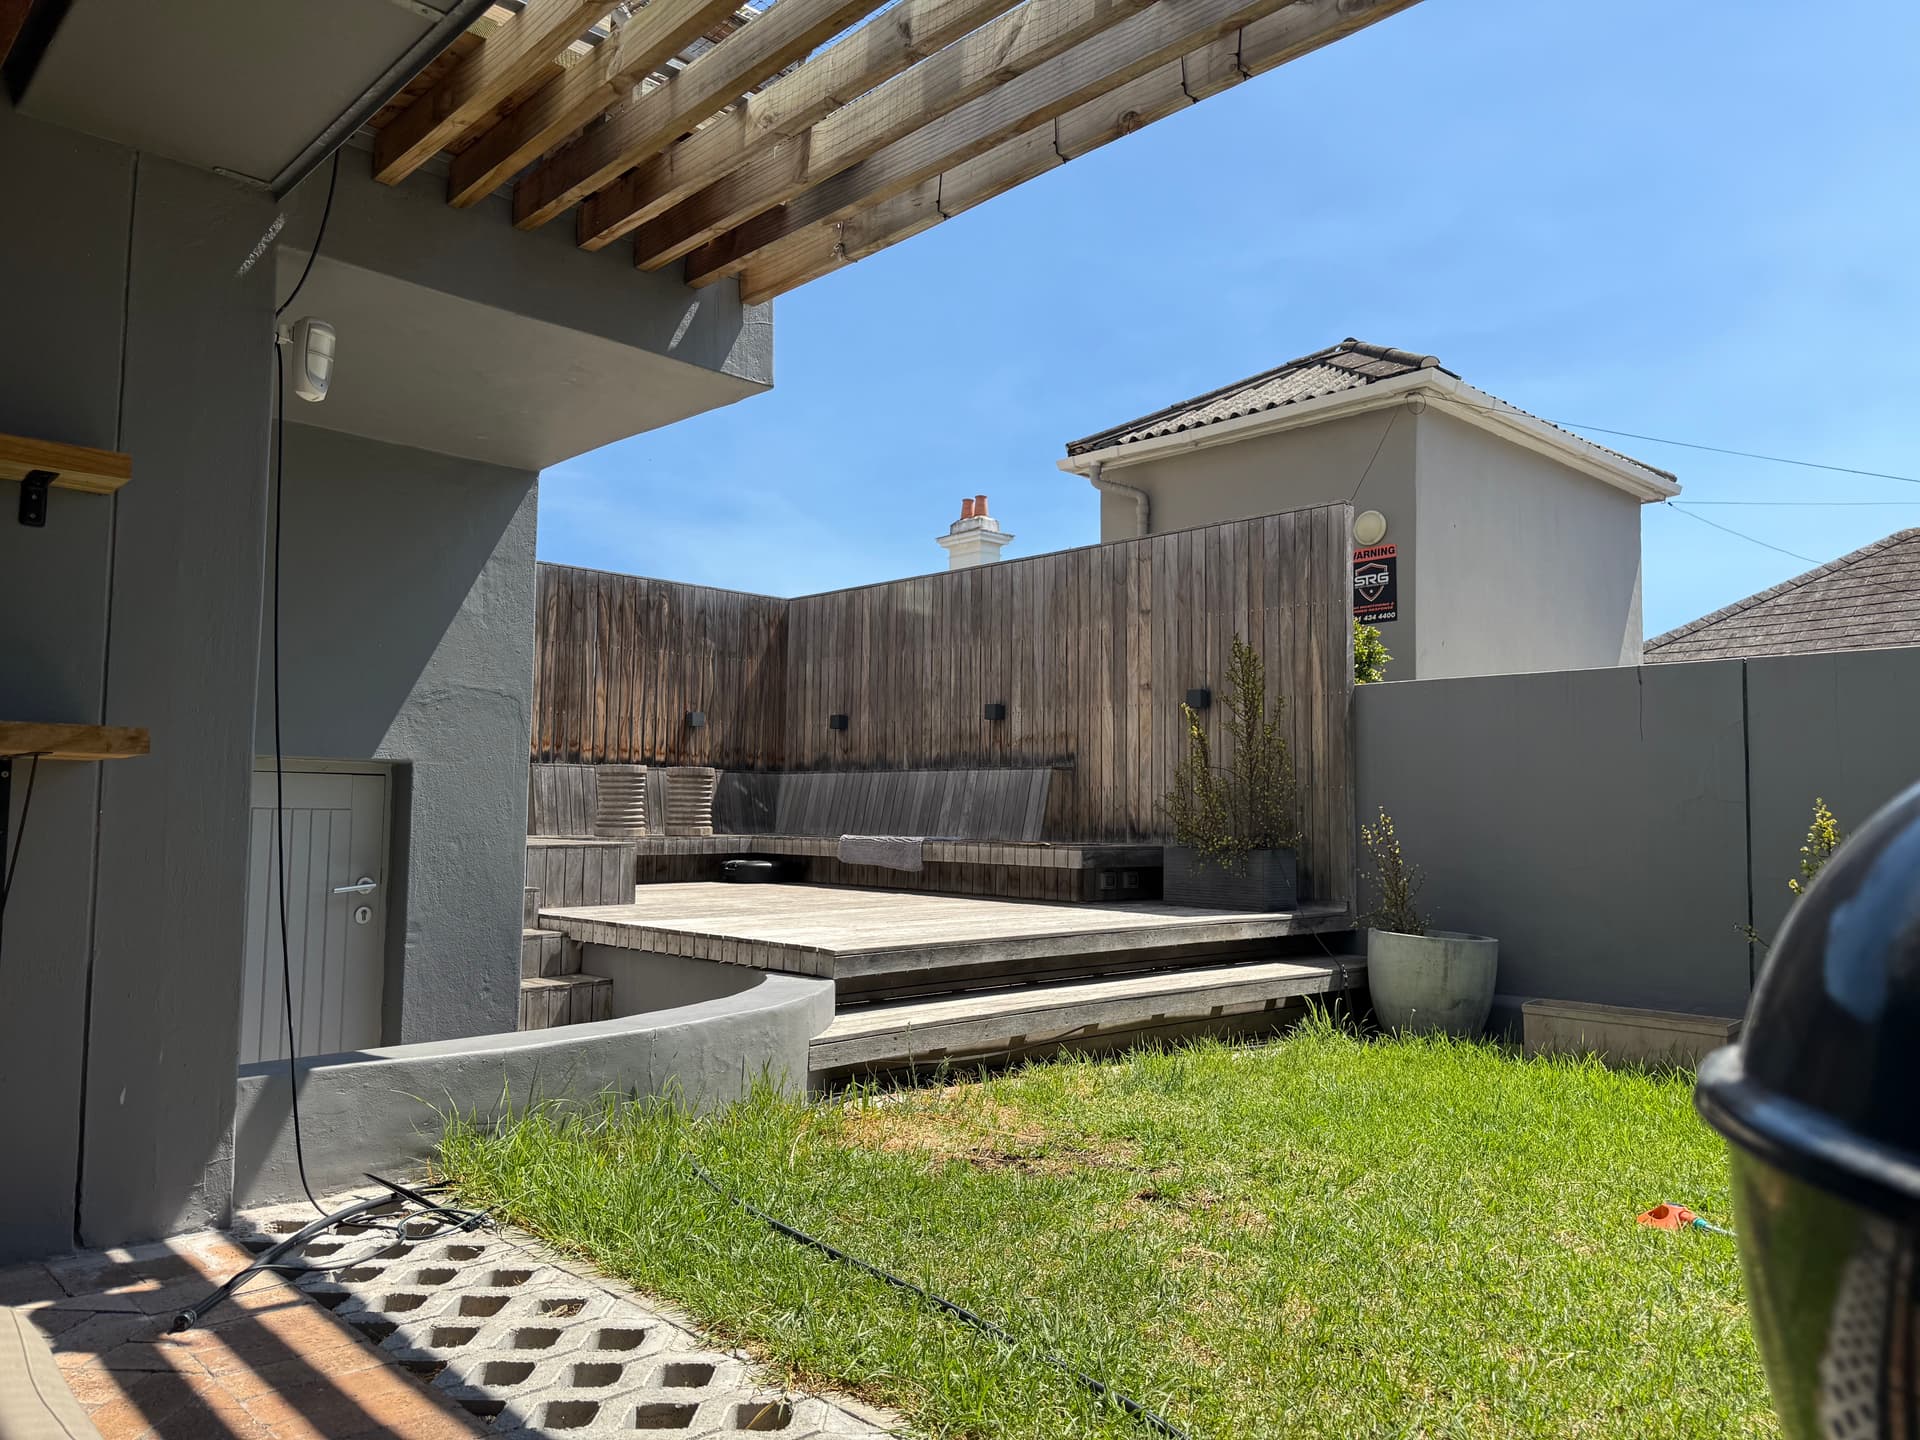
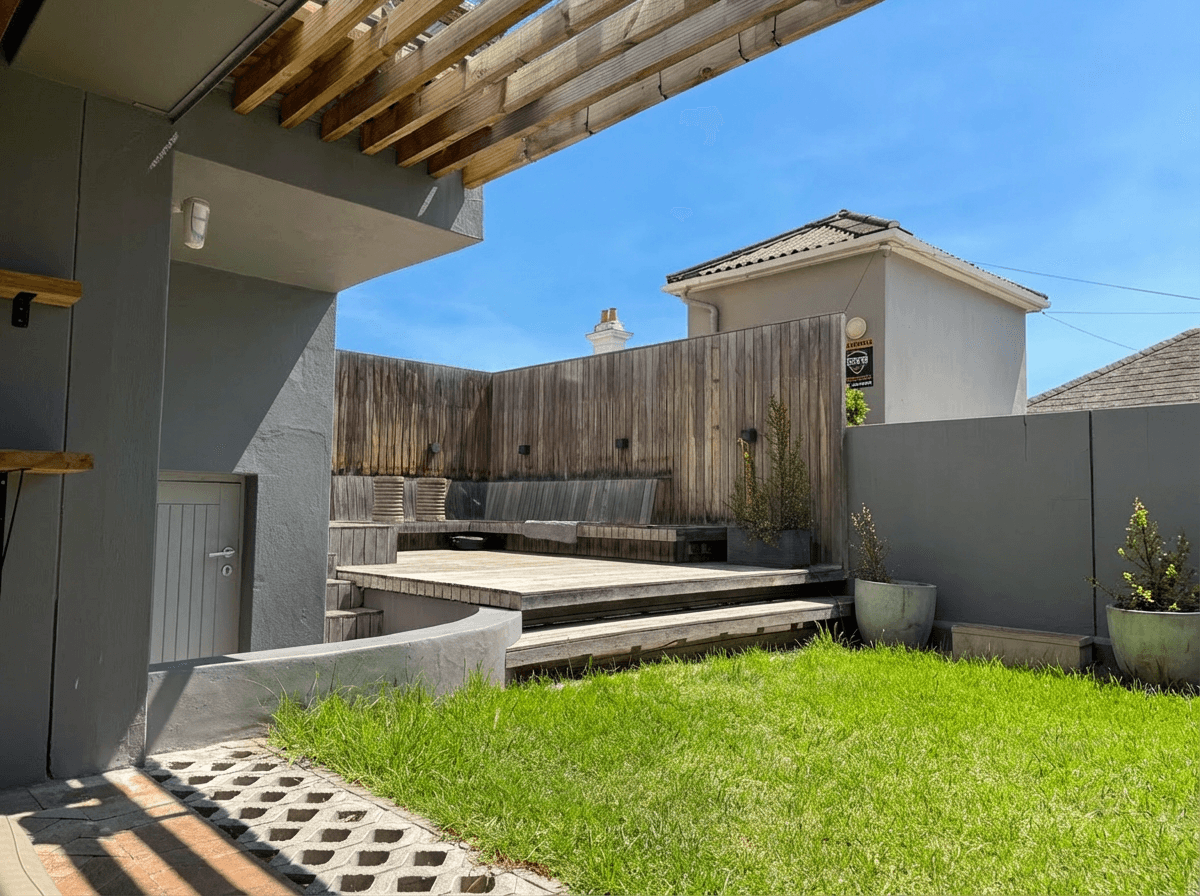
Bright and airy is not just about light --- it is also about space. The composition typically shows as much of the room as possible, shot from corners or doorways at a wide focal length. The goal is to convey openness and flow.
Camera Settings for Bright and Airy Interiors
Getting the bright and airy look starts with your camera settings. Here is a reliable starting point:
Aperture
Use f/7.1 to f/9 for most interior shots. This provides enough depth of field to keep the entire room sharp from foreground to background while maintaining lens sharpness. Avoid shooting wide open (f/2.8 or lower) for room shots, as you will lose sharpness in parts of the frame.
Shutter Speed
When shooting on a tripod (which you should be for real estate interiors), shutter speed is your primary exposure control. Do not be afraid of long exposures --- 1/2 second to 2 seconds is common for interior real estate photography. The tripod eliminates motion blur, and nothing in the room is moving.
ISO
Keep ISO as low as your camera allows --- 100 to 400. Higher ISO introduces noise, which becomes visible when you lift shadows in post-processing (a key step in the bright and airy edit).
White Balance
Set white balance manually to 5500K-6000K (daylight). This gives you a neutral starting point and ensures consistency between rooms with different lighting. Avoid Auto White Balance, which will shift between frames and create inconsistencies across the listing.
Exposure Tip
When in doubt, slightly overexpose your interiors by +0.5 to +1 stop. It is much easier to pull down highlights in post than to recover detail from underexposed shadows. For bright and airy editing, having abundant light data in your RAW file gives you more flexibility.
Shooting in RAW
This is non-negotiable for the bright and airy style. RAW files contain far more tonal information than JPEGs, which you need for lifting shadows and adjusting white balance without introducing banding or artifacts.
Natural Light Techniques
Light is the single most important factor in bright and airy photography. Here is how to maximize natural light in your interior shots.
Window Management
Windows are your primary light source for bright and airy interiors. How you manage them makes an enormous difference:
- Open all blinds, curtains, and shutters in the room you are photographing and in adjacent rooms. Light from neighboring spaces fills in shadows and creates a more even exposure.
- Sheer curtains are your friend. If the room has sheers, close them over the main curtains but leave the sheers in place. They diffuse harsh direct sunlight into soft, even illumination.
- Photograph facing toward windows when possible, not away from them. Backlighting (with the window in or near the frame) creates that signature bright and airy glow. Yes, you will need to manage the exposure difference between the bright window and the darker room, but this is easily handled in post-processing or with HDR techniques.
Time of Day
The quality of natural light changes dramatically throughout the day:
- Morning (8-10 AM): Soft, warm light that is ideal for east-facing rooms. The low angle sends light deep into interiors.
- Midday (11 AM - 1 PM): Bright but harsh if direct sunlight enters through windows. Best for rooms with north-facing windows (in the northern hemisphere) or rooms where direct sun is diffused.
- Afternoon (2-4 PM): Similar to morning but from the west. Golden quality that warms the entire space.
- Overcast days: Often the best conditions for interior photography. The cloud cover acts as a giant softbox, providing even, diffused light from every window simultaneously.
Supplemental Lighting
Sometimes natural light alone is not enough, especially in interior rooms without windows or in homes with small windows:
- Bounce flash: A flash bounced off the ceiling fills in shadows without creating harsh directional light. Use at low power (1/8 to 1/16) as fill, not as the main light source.
- Turn on all lights: Lamps, overhead fixtures, and under-cabinet lighting all contribute to a brighter, more even exposure. Replace any cool-white bulbs with warm-white (2700K-3000K) for color consistency.
- Light painting: During a long tripod exposure, use a handheld light to "paint" dark corners of the room. This technique takes practice but can rescue rooms with challenging lighting.
Staging for Bright and Airy Photos
The bright and airy look extends beyond lighting and camera settings. How the room is staged plays a crucial role.
Declutter Aggressively
Nothing kills the airy feeling faster than clutter. Remove personal items, excess furniture, countertop appliances, and anything that makes the space feel crowded. The goal is to show the room's potential, not its current state of occupation.
Use Light-Colored Accents
If you have the opportunity to add staging elements, choose items in whites, creams, light grays, and soft pastels. A white throw blanket on a sofa, light-colored towels in the bathroom, or a pale table runner in the dining room all reinforce the bright and airy aesthetic.
Clear the Floors
Visible floor space is one of the strongest cues for spaciousness. Remove floor rugs that are too small for the space, tuck away shoes by the door, and push furniture slightly away from walls to create visual breathing room.
Add Greenery
A few fresh plants or a simple flower arrangement in a neutral vase adds life to bright and airy photos without adding visual weight. Stick to green plants with simple leaf shapes rather than busy, colorful floral arrangements.
Editing for the Bright and Airy Look
Even with perfect lighting and staging, post-processing is where the bright and airy style truly comes together. Here is the editing workflow used by professional real estate photographers.
Traditional Editing Workflow (Lightroom/Photoshop)
If you are editing manually, here are the key adjustments in order:
1. White Balance: Set to approximately 5800K with a slight magenta tint (+5 to +10). This creates the warm, clean base that defines bright and airy.
2. Exposure: Increase by +0.3 to +0.7 stops. The overall image should feel bright without clipping highlights.
3. Highlights: Pull down to -30 to -60. This recovers detail in windows and bright areas while keeping the overall brightness high.
4. Shadows: Push up significantly, +50 to +80. This is the single most important adjustment for the bright and airy look. It opens up dark areas and reduces the contrast range.
5. Whites: Increase slightly, +10 to +20. This gives the image a clean, bright top end.
6. Blacks: Lift significantly, +20 to +40. Raising the black point is what prevents any part of the image from going truly dark, contributing to that characteristic flat, airy tonal range.
7. Clarity: Reduce slightly, -5 to -15. A small reduction in clarity softens the image just enough to enhance the airy feeling without looking blurry.
8. Vibrance: Decrease slightly, -5 to -15. Pulling back vibrance keeps colors natural and prevents them from becoming too punchy.
9. Saturation: Leave at 0 or reduce slightly, -5 to -10. The bright and airy look is about soft, natural colors, not vivid ones.
10. Tone Curve: Create a gentle S-curve with the shadows lifted. Pull the bottom-left point of the curve upward to ensure no pure blacks in the image.
The AI Alternative: One-Click Bright and Airy
The manual workflow described above takes 3-5 minutes per image for an experienced editor. Multiply that by 20-30 interior shots for a typical listing, and you are looking at 1-2 hours of editing time.
Twilight's Bright and Airy preset applies all of these adjustments --- and more --- in a single click. The AI does not just follow a formula. It analyzes each image individually, identifying the lighting conditions, color temperature, shadow distribution, and room characteristics, then applies adjustments optimized for that specific photo.
The result is a bright and airy look that is both consistent across a listing and individually tailored to each room's unique lighting challenges.
Common Mistakes and How to Avoid Them
Even experienced photographers make these errors when pursuing the bright and airy style:
Overexposure
There is a fine line between bright and blown out. If you lose detail in walls, ceilings, or countertops, you have gone too far. The room should feel light-filled, not like a nuclear flash went off. Pay attention to your histogram --- you want the data shifted right but not clipping.
Ignoring Color Casts
Bright and airy photos amplify any color cast in the scene. A slightly green fluorescent light that was barely noticeable in a normally exposed photo becomes glaringly obvious when you lift shadows and brighten the image. Address color casts before applying your brightness adjustments.
Flat Without Purpose
Lifting shadows and reducing contrast is intentional in bright and airy editing, but overdoing it produces images that look flat and lifeless rather than airy. There should still be some tonal variation --- enough shadow to define shapes, edges, and depth. The room should look light-filled, not foggy.
Inconsistent White Balance Between Rooms
When a buyer scrolls through listing photos, inconsistent color temperature between rooms is jarring. The kitchen should not look cool-blue while the bedroom looks warm-yellow. Establish your white balance and apply it consistently.
Forgetting the Exterior
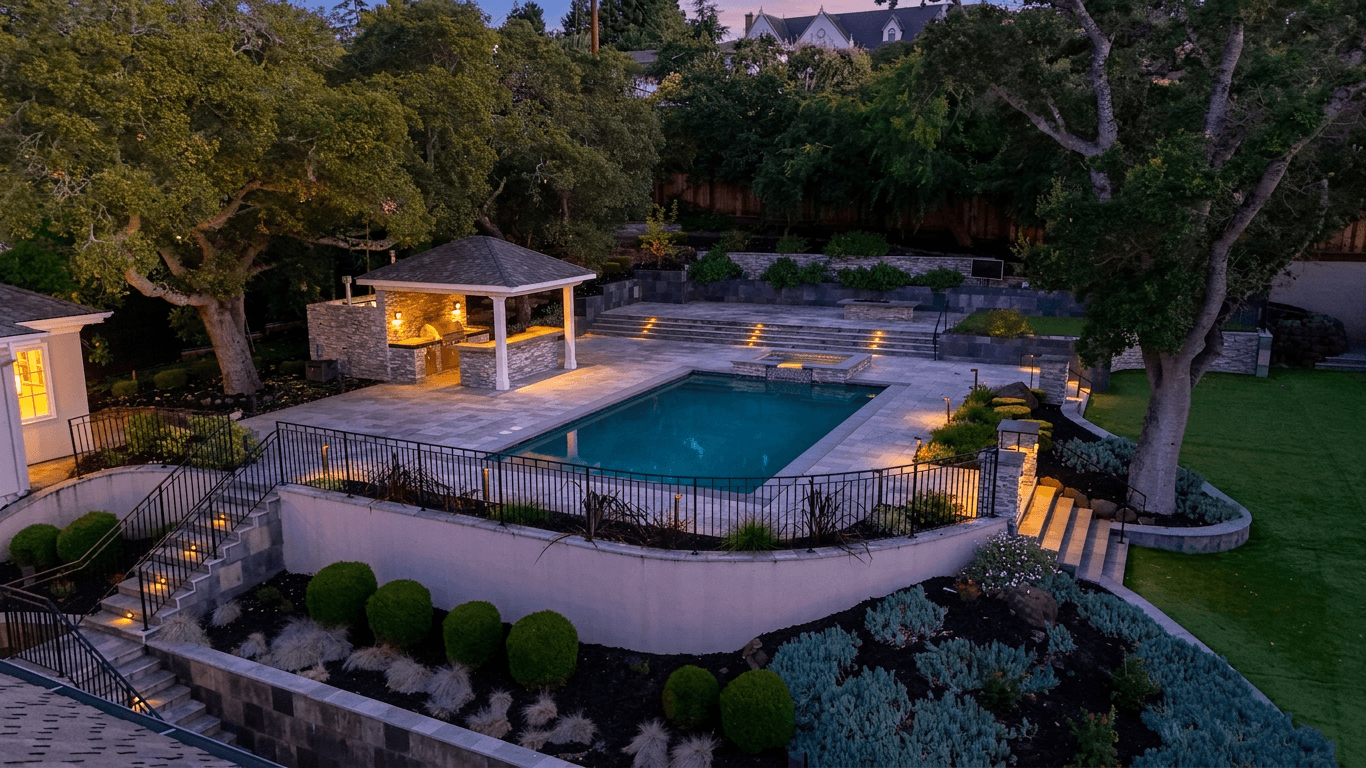
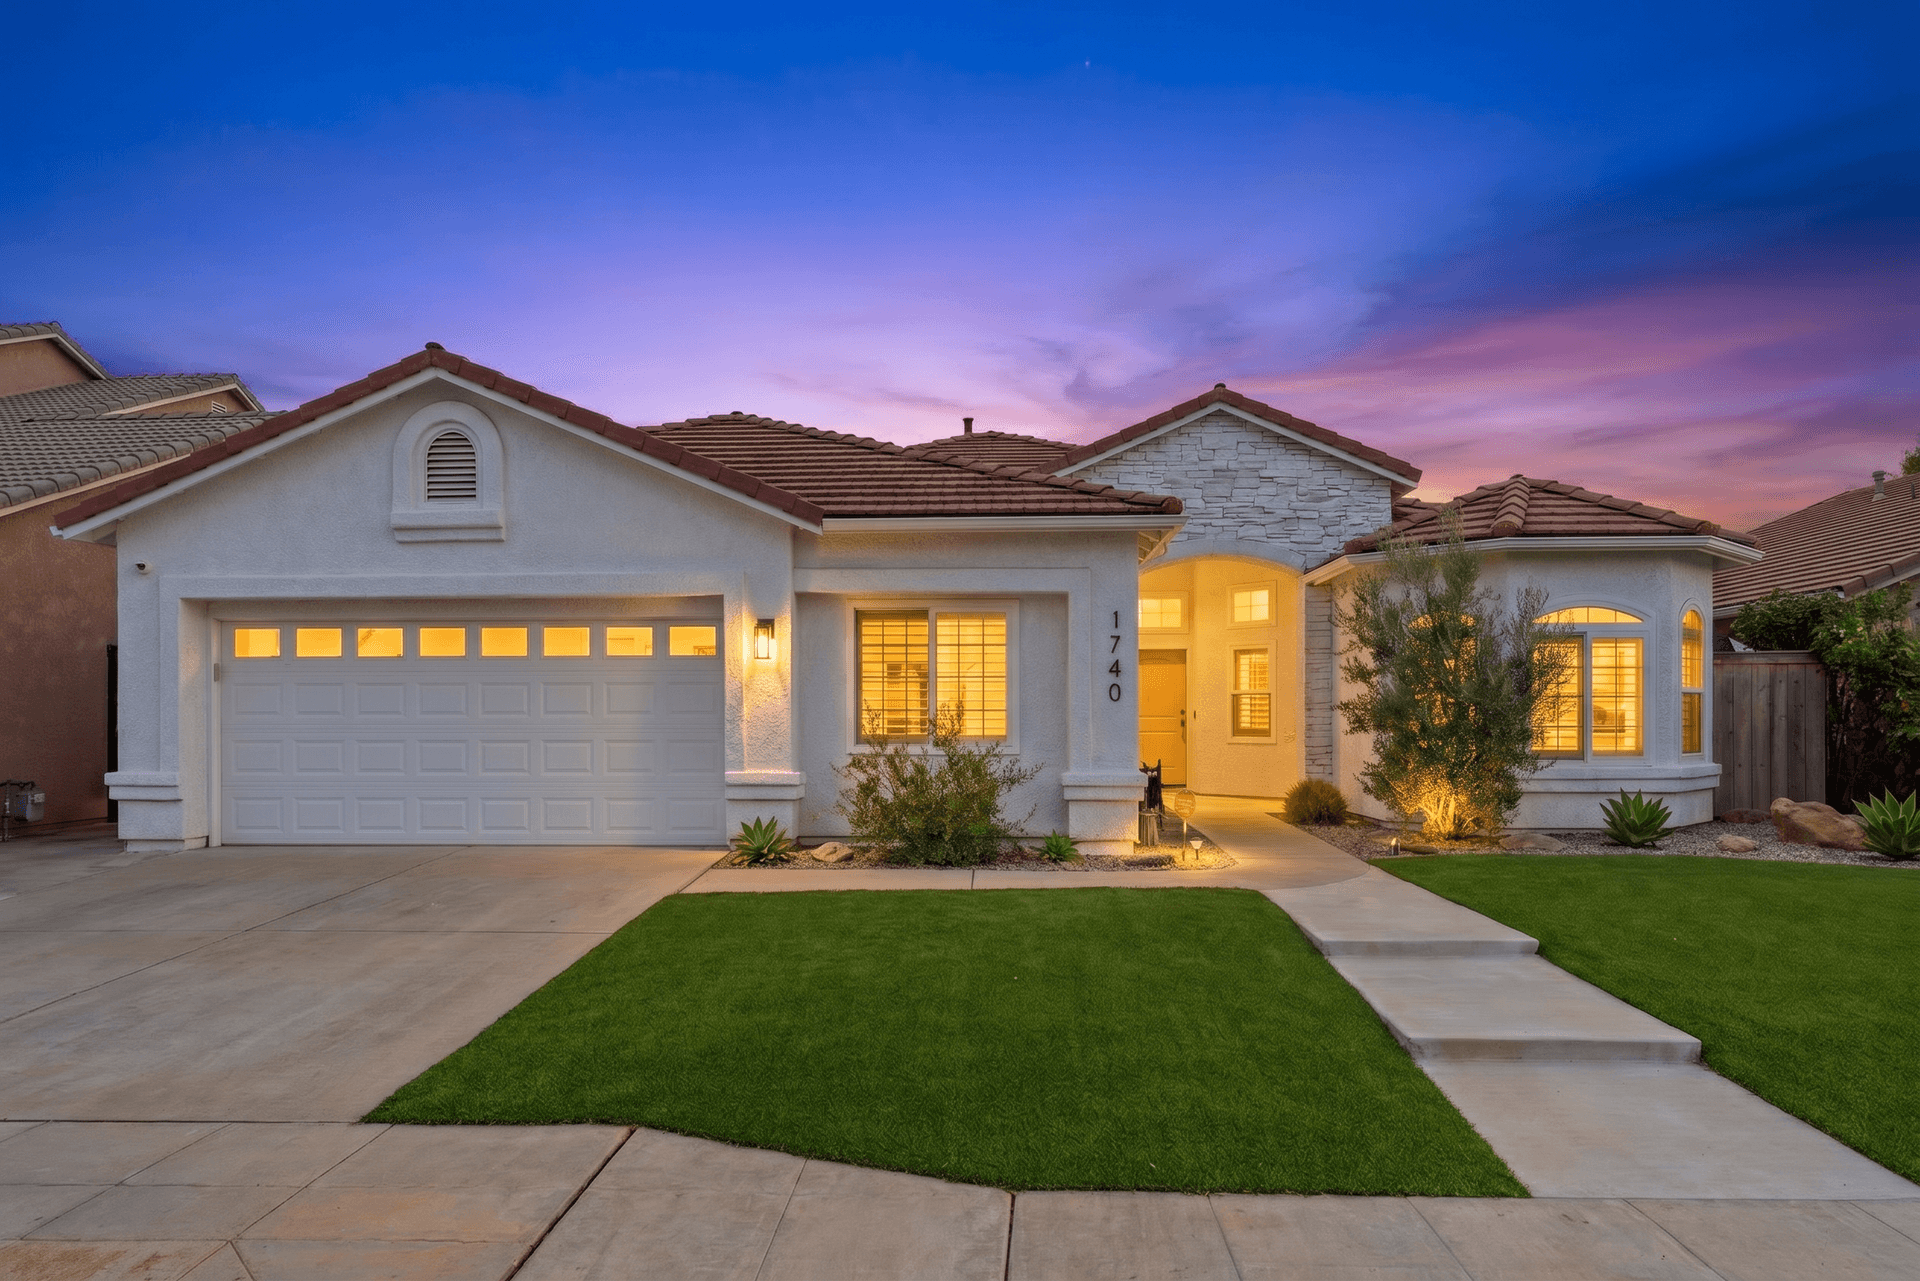
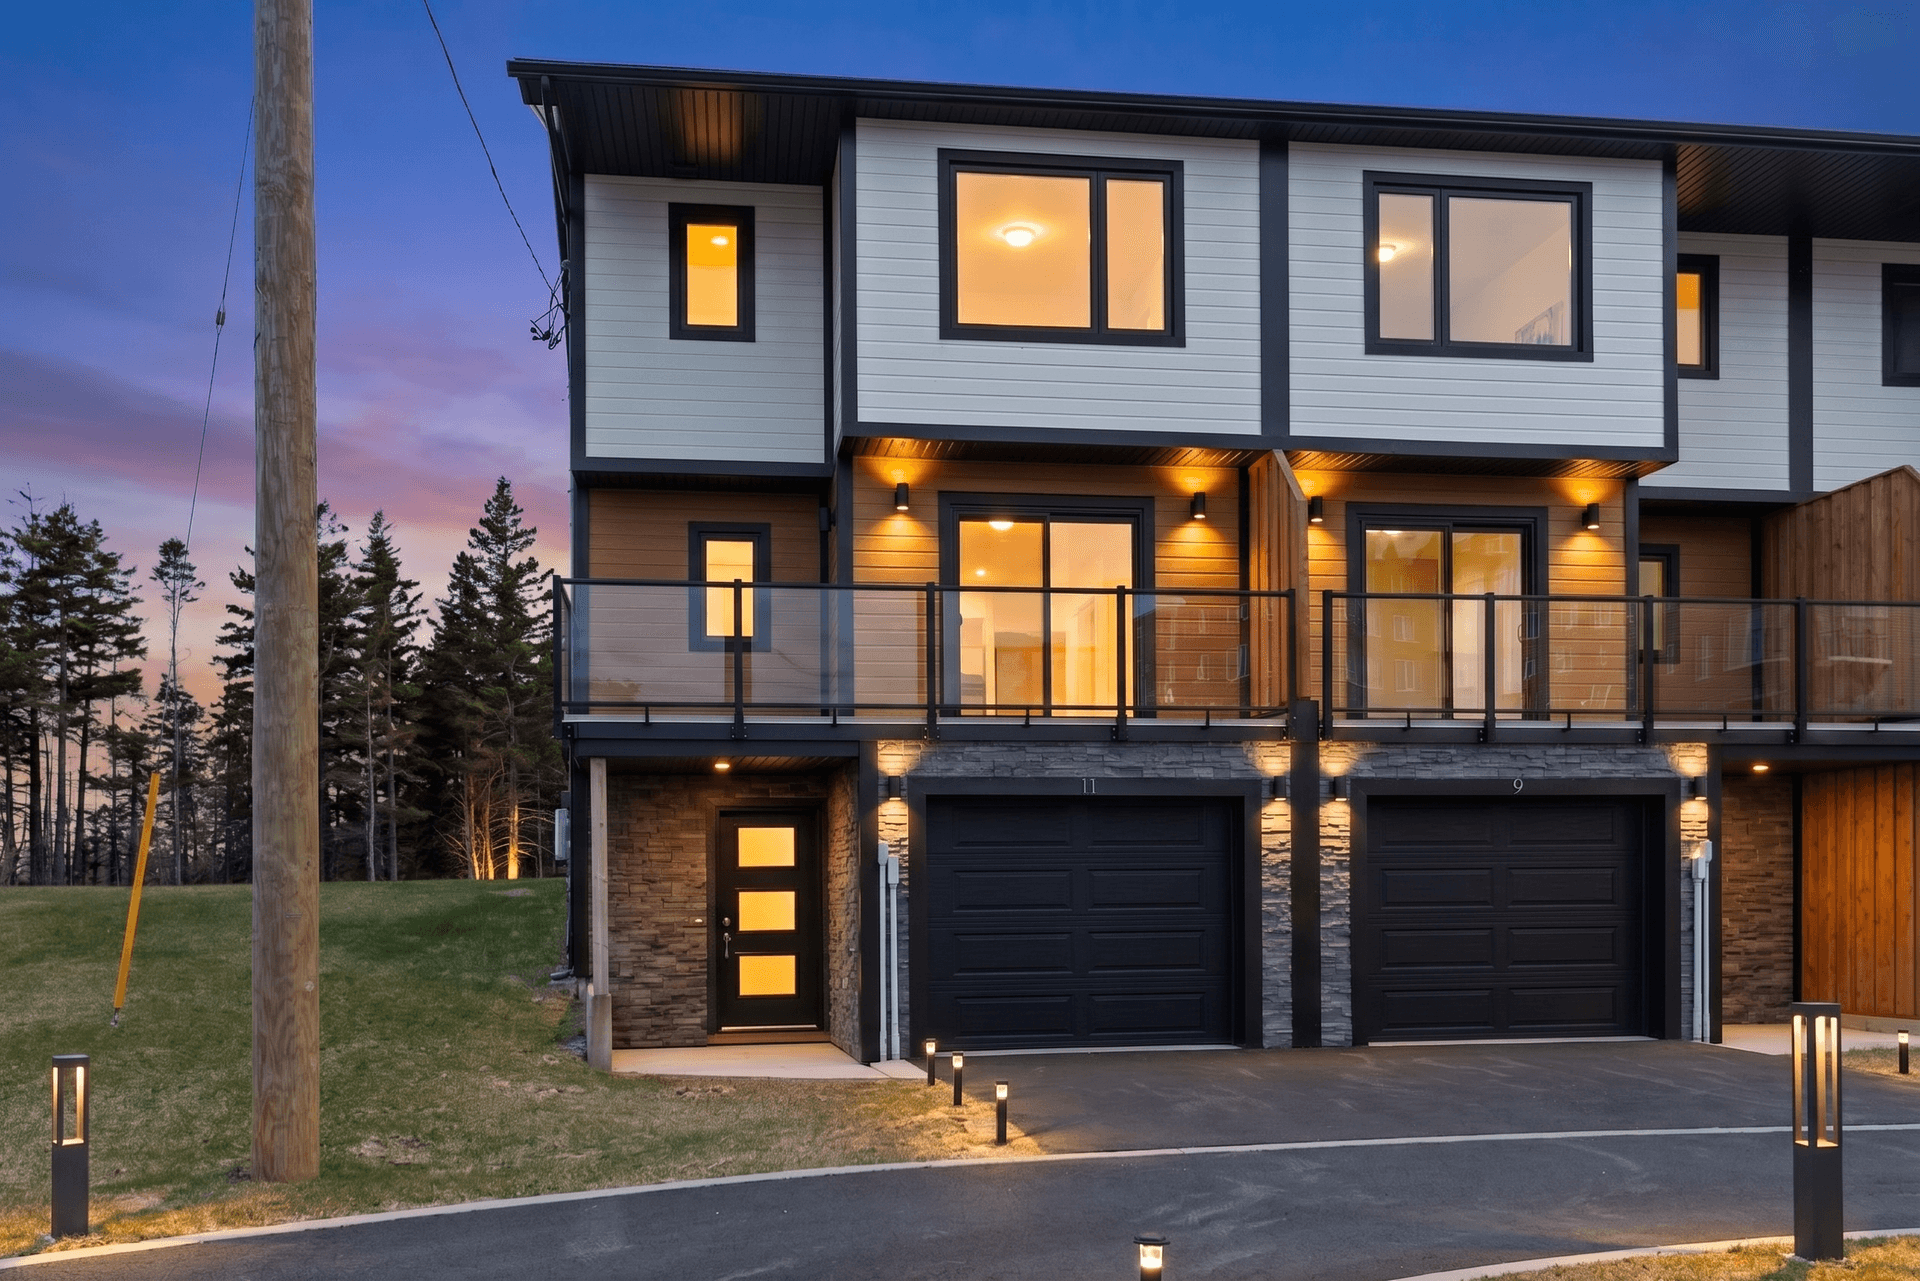
A common mistake is applying bright and airy editing only to interiors while leaving exteriors with a completely different look. While your exterior hero image might use a twilight conversion for maximum impact, your daytime exterior shots should share a similar level of brightness and warmth for visual consistency.
When Bright and Airy Works Best (and When It Does Not)
The bright and airy style is versatile but not universally appropriate:
Ideal For
- Modern and contemporary homes with clean lines and neutral palettes
- Coastal and farmhouse style properties where lightness fits the aesthetic
- Smaller homes and condos where maximizing the perceived size of rooms is important
- New construction with fresh paint, clean surfaces, and contemporary finishes
- Rentals and vacation properties where an inviting, aspirational look drives bookings
Consider Alternatives For
- Historic homes and craftsman styles where warmth and character are selling points (a warm and moody edit may serve these better)
- Luxury properties with dramatic lighting like wine cellars, media rooms, or homes with exceptional architectural lighting
- Properties with dark, rich interiors (dark wood, stone, leather) where the bright and airy edit fights the design intent
Putting It All Together
The bright and airy style is not a single technique but a combination of shooting decisions, staging choices, and editing adjustments that work together to create a cohesive, inviting look. Whether you achieve it through careful manual editing or with the help of AI tools, the key is consistency and restraint --- bright but not blown, light but not flat, airy but not empty.
If you are looking to streamline your workflow and apply professional bright and airy editing to your listing photos in seconds rather than hours, try Twilight's AI-powered presets. You can test it with your own photos at twilight.pics/try --- no account required.
For more editing techniques and a broader look at AI-powered real estate photo editing, check out our comprehensive tutorial on how to edit real estate photos with AI in 2026. You may also find our guides on composition rules for real estate photography and color correction for real estate photos helpful for getting the best results before and after applying the bright and airy look.
Related Articles
Real Estate Photo Composition Rules That Make Every Room Look Better
Master the essential composition techniques for real estate photography, including the two-wall rule, one-point perspective, leading lines, and proper shooting height to make every room look spacious and inviting.
How to Write AI Prompts for Real Estate Photo Editing: A Practical Guide
The exact prompt patterns that produce reliable, professional edits for listing photos. Templates for day-to-dusk, sky replacement, decluttering, exposure correction, and more.
The Real Estate Agent's No-Nonsense Guide to AI Photo Editing
A plain-English guide to AI photo editing for real estate agents. Learn the five essential edits, avoid common mistakes, and get professional listing photos in 10 minutes flat.