The Efficient Real Estate Photography Workflow: From Shoot to Listing in Under 2 Hours
A step-by-step guide to an efficient real estate photography workflow. Learn how to go from arriving at a property to delivering listing-ready photos in under 2 hours using AI-assisted editing.
The traditional real estate photography workflow is painfully slow. A typical shoot-to-delivery cycle looks something like this: 1-2 hours on site, 30 minutes of file transfer and organization, 2-4 hours of manual editing in Lightroom, 30 minutes of export and delivery. Total: 4-8 hours per listing. For a photographer handling 3-5 listings per day, that math simply does not work without either sacrificing quality, hiring editors, or working unsustainable hours.
The good news is that the workflow has fundamentally changed. AI-powered editing tools have compressed the post-processing phase from hours to minutes, and smart shooting habits can reduce your on-site time without cutting corners. In this guide, we walk through a complete, optimized real estate photography workflow that gets you from arriving at the property to delivering listing-ready photos in under 2 hours --- consistently.
This is not a theoretical framework. It is a practical, step-by-step process that working real estate photographers and agents can implement immediately.
The Traditional vs AI-Assisted Workflow
Before diving into the details, let us compare the two approaches side by side so you can see exactly where the time savings come from.
Workflow Time Comparison
| Phase | Traditional Workflow | AI-Assisted Workflow | Time Saved |
|---|---|---|---|
| Property Preparation | 15-20 min | 15-20 min | 0 min |
| Exterior Shooting | 15-20 min | 15-20 min | 0 min |
| Interior Shooting | 30-60 min | 30-60 min | 0 min |
| Detail & Feature Shots | 10-15 min | 10-15 min | 0 min |
| File Transfer & Organization | 15-30 min | 10-15 min | 5-15 min |
| Culling & Selection | 15-30 min | 10-15 min | 5-15 min |
| Editing (Per Photo) | 5-15 min each | 30 sec each | 90%+ reduction |
| Editing (30 Photos Total) | 2.5-7.5 hours | 15-30 min | 2-7 hours |
| Quality Review | 15-20 min | 15-20 min | 0 min |
| Export & Delivery | 10-15 min | 10-15 min | 0 min |
| Total | 4-8+ hours | 1.5-2.5 hours | 2.5-6 hours |
The on-site shooting time is essentially the same --- you still need to physically be there, prepare the space, and capture the images properly. The massive time savings come from post-processing, where AI tools collapse hours of manual editing into minutes.
Phase 1: Pre-Shoot Preparation (Before You Arrive)
Efficiency starts before you walk through the front door. A few minutes of preparation saves significant time on site.
Confirm Details the Day Before
Send the listing agent a quick checklist 24 hours before the shoot:
- Confirm the appointment time and access method (lockbox code, agent meeting you, etc.)
- Ask the agent to ensure the property is show-ready: lights on, blinds open, clutter removed, pets secured
- Verify the property address and any gate codes or parking instructions
- Confirm the number of photos needed and any specific shots requested
Prepare Your Gear the Night Before
Pack your bag the night before with a standard loadout so you are not scrambling in the morning:
- Camera body with fully charged battery (plus one spare)
- Wide-angle lens (16-24mm) and a standard zoom (24-70mm)
- Tripod with quick-release plate
- Two memory cards (one as backup)
- Speedlight and diffuser for bounce flash
- Lens cloth and blower
- Drone (if aerials are included) with charged batteries
- Shot list template on your phone or clipboard
Set Your Camera Defaults
Before the shoot, set your camera to your standard real estate starting points:
- Mode: Aperture Priority or Manual
- Aperture: f/7.1 to f/9
- ISO: 100-400
- White Balance: 5500K (daylight manual)
- Format: RAW (non-negotiable)
- Focus: Single point, manual focus at hyperfocal distance for room shots
Setting these defaults means you are ready to shoot the moment you walk in, with minimal adjustments needed per room.
File Naming Convention
Set your camera file naming to include the date (e.g., 20260401_001.ARW). This simple habit prevents file name conflicts when you shoot multiple properties in a day and makes it easy to sort and find files weeks or months later. Most modern cameras allow custom file naming in the setup menu.
Phase 2: Property Preparation (15-20 Minutes On Site)
The first thing you do when you arrive is prepare the property for photography, not pick up the camera. This walkthrough serves double duty: it gets the space ready and gives you a mental map of the home's layout and best angles.
The Preparation Walkthrough
Walk through the entire property systematically, starting from the front entrance:
- Turn on every light. Overhead fixtures, lamps, under-cabinet lights, closet lights, bathroom vanities, exterior lights. Every single one.
- Open all blinds and curtains. Let maximum natural light in. Leave sheer curtains if they are attractive and diffuse harsh sunlight.
- Close all toilet lids. This is a small detail that agents and buyers notice immediately.
- Remove distracting items. Trash cans visible in the frame, personal photos on nightstands, cluttered countertops. Move items out of the frame, not just behind the camera.
- Straighten and align. Towels in bathrooms, pillows on sofas, chairs pushed in at dining tables, rug edges aligned with walls.
- Check exterior. Move trash bins, garden hoses, and cars from the driveway. Close the garage door.
This preparation walkthrough takes 15-20 minutes and dramatically improves every photo you take. Skipping it to "save time" is a false economy --- you will spend more time in editing trying to fix problems that should have been addressed on site.
Phase 3: Shooting Sequence (45-75 Minutes)
The key to an efficient shoot is a consistent, systematic sequence. Jumping randomly from room to room wastes time on lens changes, tripod adjustments, and mental context-switching. Follow this order.
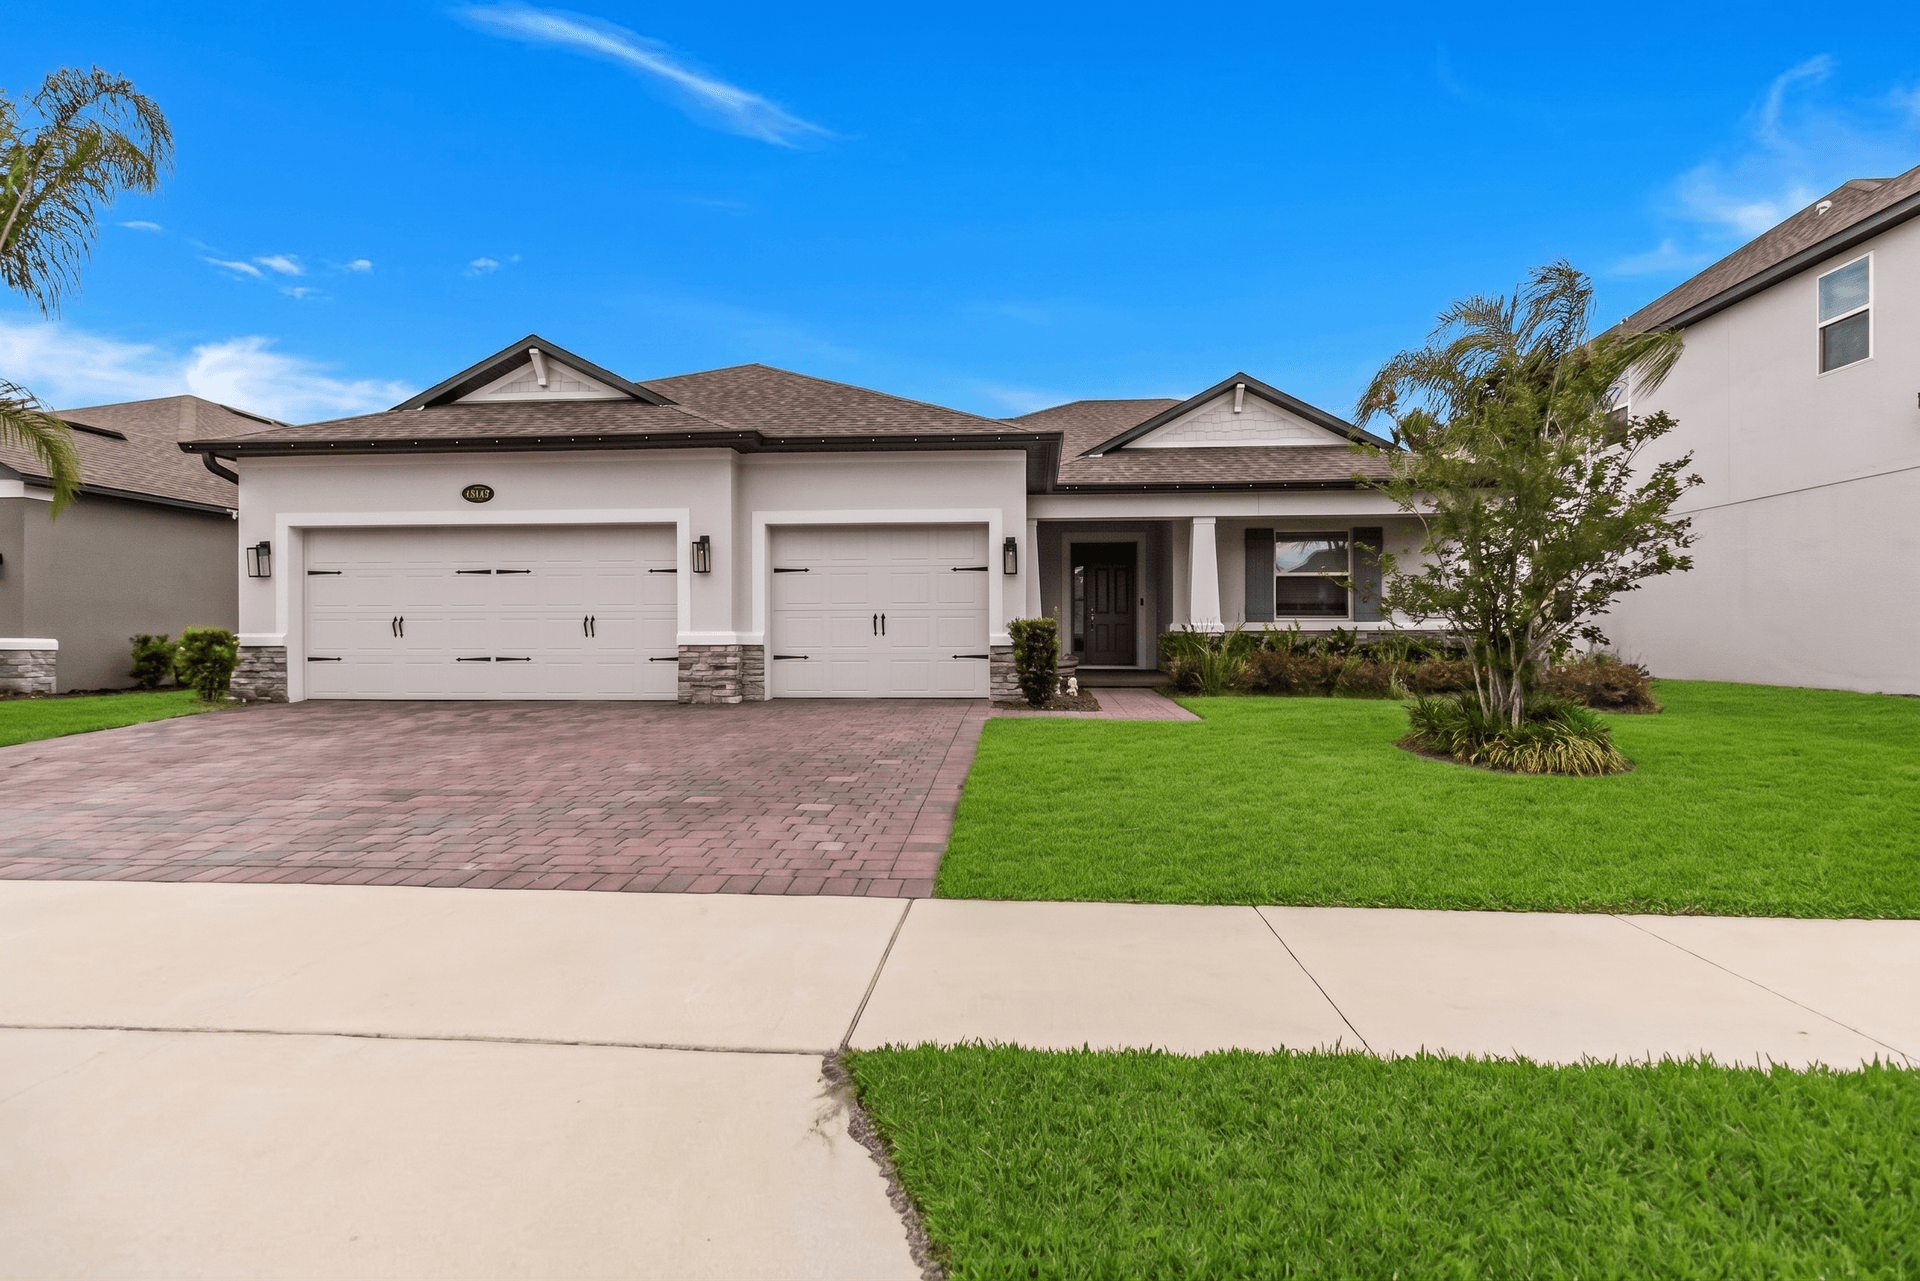
Step 1: Exterior Front (10-15 Minutes)
Start with the exterior front of the home while the light is optimal (if shooting in the morning, the front facade is often best lit early). Capture:
- Hero shot: The primary front elevation, straight on, at eye level. This is the listing's lead photo.
- Angled shot: 30-45 degrees from one corner, showing depth and dimension.
- Opposite angle: The same from the other corner.
- Driveway/parking: If relevant.
- Detail shots: Front door, landscaping, architectural features.
- Drone aerials (if included): Capture while you are already outside.
Step 2: Main Living Spaces (15-20 Minutes)
Move inside to the primary living areas: living room, dining room, and kitchen. These are the most important interior shots and deserve the most attention.
- Shoot each room from 2-3 angles (corner shots and one doorway shot)
- Feature architectural highlights: fireplaces, built-ins, window views
- Kitchen: at least 3 angles --- wide shot, counter-level detail, and the view from the main entry point
- Include shots that show room flow and connections between spaces
Step 3: Bedrooms and Bathrooms (15-20 Minutes)
Work systematically through all bedrooms and bathrooms:
- Each bedroom: 1-2 angles (corner shot featuring the window, plus an angle showing closet or en-suite)
- Each bathroom: 1-2 angles (wide shot and a detail shot of the vanity or shower)
- Primary suite: extra attention with 2-3 bedroom angles and 2-3 bathroom angles
Step 4: Secondary Spaces (5-10 Minutes)
Capture remaining spaces quickly but thoroughly:
- Laundry room (1 shot)
- Garage (1-2 shots)
- Home office, bonus rooms (1-2 shots each)
- Hallways (only if they have notable features)
- Closets (walk-in closets in primary suite, skip standard closets)
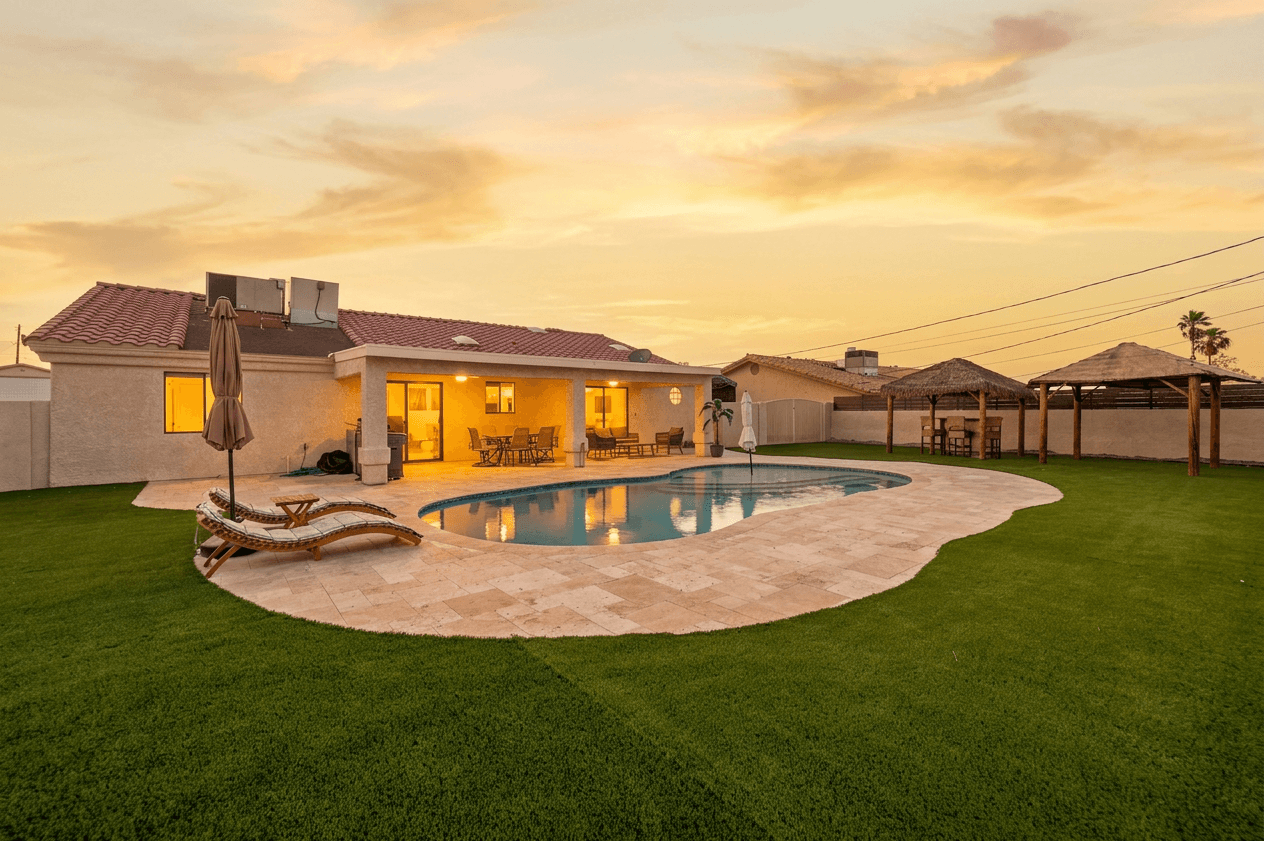
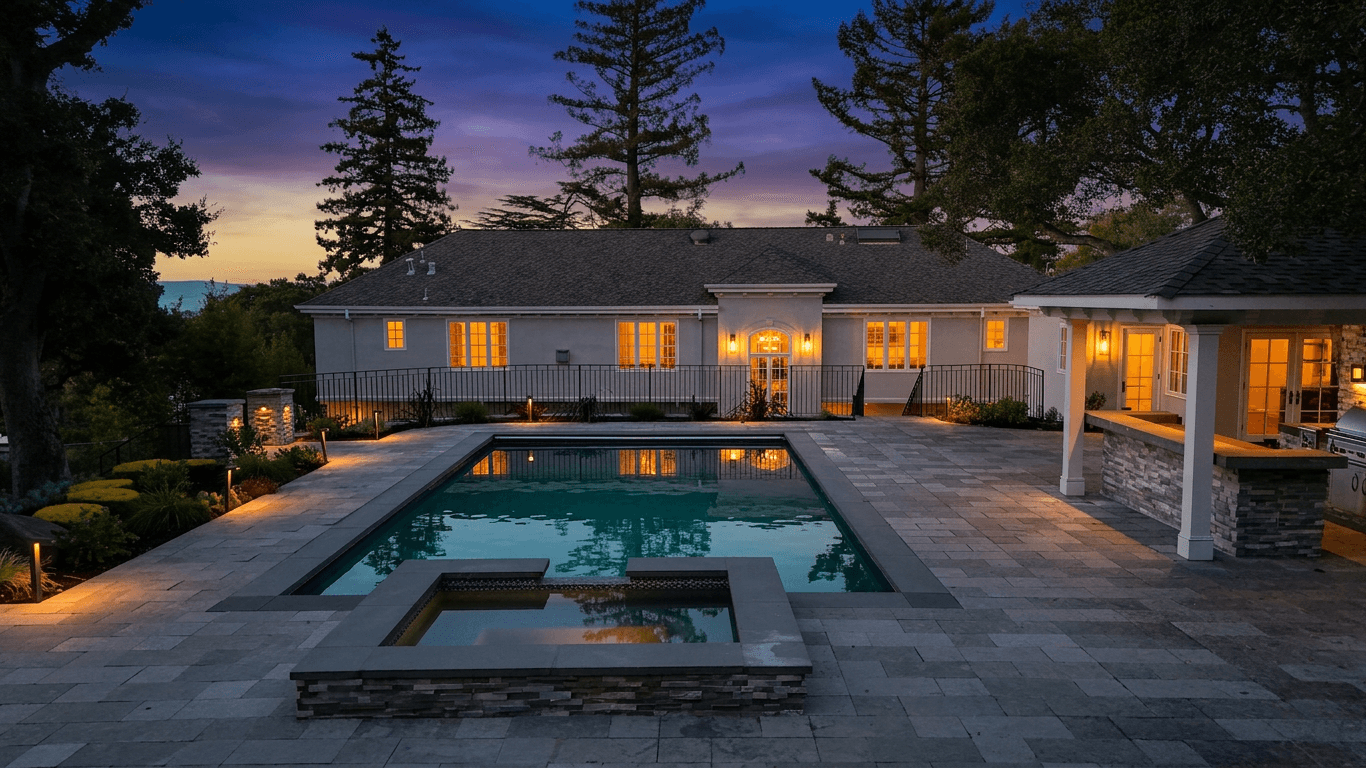
Step 5: Outdoor Living and Backyard (5-10 Minutes)
Finish with the rear exterior and outdoor living areas:
- Backyard overview from the house looking out
- Patio, deck, or pool area
- Any outdoor kitchen or entertainment features
- Garden or landscaping highlights
- View shots (if the property has notable views)
Step 6: Final Walkthrough (3-5 Minutes)
Before packing up, do a quick review of your shots on the camera's LCD:
- Confirm you have at least 2 angles of every major room
- Check for obviously missed spaces
- Verify exposure looks reasonable (not blown out, not too dark)
- Take any additional shots of areas that look under-covered
The 30-Photo Rule
For most standard residential listings, aim for 25-35 delivered photos. This means shooting 40-50 frames (to account for culling). More than 50 delivered photos rarely adds value and actually reduces engagement --- agents and buyers start clicking through quickly instead of studying each image. Quality over quantity.
Phase 4: File Management (10-15 Minutes)
The moment you get to your car or office, handle file management while the shoot is fresh in your mind. Delaying this step leads to disorganized files and wasted time later.
Transfer and Organize
- Transfer files immediately. Use a card reader (faster than camera USB) to copy RAW files to your computer. Copy to a dedicated folder structure:
/2026/2026-04-01_123-Main-St/RAW/ - Backup. Copy the same files to a second location --- external drive, cloud storage, or both. RAW files are irreplaceable; a single drive failure should never cost you a shoot.
- Rename files (if your camera does not handle this):
123-Main-St_001.ARWthrough123-Main-St_050.ARW. Clear property identification in file names prevents confusion when you are managing multiple shoots.
Cull and Select
Review all frames and select the final delivery set:
- Reject obviously flawed shots (motion blur, severe exposure errors, eyes closed in a mirror reflection)
- When multiple angles of the same room are similar, choose the one with the best composition and light
- Select 25-35 images for a standard listing, up to 50 for large or luxury properties
- Flag any images that need special attention (difficult lighting, specific client requests)
With practice, culling 40-50 images down to 30 takes about 10 minutes. Do not agonize over borderline selections --- if you are debating between two similar shots, pick the one with better natural light and move on.
Phase 5: Batch AI Editing (15-30 Minutes)
This is where the AI-assisted workflow saves hours compared to traditional editing. Instead of opening each image in Lightroom, adjusting 15-20 sliders, spot-healing imperfections, and exporting --- you batch-upload your selected images and let the AI handle the heavy lifting.
Batch Upload and Preset Selection
Upload your culled selection to Twilight. For a typical listing, you will use 2-3 different presets across the image set:
- Exterior shots: Apply the Twilight or HDR Enhance preset depending on the desired look and time of day
- Interior shots: Apply the Bright and Airy preset for modern homes, or HDR Enhance for homes with complex lighting
- Detail shots: Apply a clean, color-accurate enhancement
The key advantage of batch AI editing is consistency. Every interior photo receives the same style treatment, creating a cohesive listing that flows naturally from one room to the next. Manual editing, even by skilled editors, introduces subtle variations in color temperature, exposure, and style between images.
Review and Adjust
After the batch processes (which takes minutes, not hours), review each edited image:
- Compare before and after to ensure the AI improved the image without introducing artifacts
- Check that the style is consistent across the set
- Re-process any images that need a different preset or approach
- For images that need specific tweaks, use a custom prompt to refine the result
This review phase typically takes 10-15 minutes for a 30-photo listing. The vast majority of images will be delivery-ready after the first pass.
For a detailed walkthrough of AI editing techniques, see our complete guide to editing real estate photos with AI.
When Manual Touch-Ups Are Still Needed
AI handles 90-95% of editing work brilliantly, but there are occasional situations where manual intervention improves the result:
- Complex perspective correction. Some wide-angle shots with severe vertical distortion benefit from precise manual correction.
- Specific object removal. Removing a car from a driveway, a power line from a sky, or a personal item that was missed during preparation.
- Custom color matching. If an agent wants the listing to match a specific brand color palette, final color adjustments may need manual attention.
For these edge cases, a quick pass in Lightroom or Photoshop on 2-3 images adds only 10-15 minutes to the total workflow.
Phase 6: Quality Review Checklist (10-15 Minutes)
Before delivering any photos, run through this quality checklist. It takes 10-15 minutes and catches issues that would require re-delivery (and damage your professional reputation).
Technical Quality
- All images are sharp and properly focused
- No blown highlights in windows or on walls (unless intentionally bright and airy)
- No severely blocked shadows (dark areas should have visible detail)
- Vertical lines are straight (walls, door frames, cabinets)
- No visible lens distortion making rooms look warped
- Color temperature is consistent across all images
- No visible noise or grain, especially in shadow areas
Content Quality
- Every major room is represented
- Hero exterior shot is the strongest image in the set
- Kitchen has at least 3 angles
- Primary bedroom and bathroom are well-represented
- No personal items, clutter, or distracting objects visible
- No people, pets, or reflections of the photographer visible
- Toilet lids are down in all bathroom shots
- All lights appear to be on
Delivery Quality
- Images are exported at the correct resolution for the delivery method
- File names are clean and sequential
- Total photo count matches the agreed deliverable
- Images are ordered logically (exterior, main rooms, bedrooms, bathrooms, outdoor)
Phase 7: Export and Delivery (10-15 Minutes)
The final phase is preparing and delivering the files.
Export Settings
For MLS and agent delivery, standard export settings are:
- Format: JPEG (sRGB color space)
- Resolution: Full resolution or as specified by the MLS (many require minimum 2048px on the long edge)
- Quality: 85-95% JPEG quality
- Metadata: Include copyright; strip GPS data for client privacy
For detailed MLS requirements by platform, see our MLS photo requirements guide.
Delivery and Organization
Deliver via cloud gallery (Dropbox, Google Drive, or a dedicated photography delivery platform) for most situations. Make the agent's life easier by delivering files that are ready to use:
- Name files sequentially:
01_Front_Exterior.jpg,02_Living_Room.jpg, etc. - Order them in the sequence you recommend for the listing
- Flag your recommended hero image
- Include both standard and web-optimized versions if the agent uses photos for both MLS and social media
Time-Saving Equipment Tips
A few equipment choices can shave meaningful time off your process:
- Dual card slots. Set the second slot to write a backup copy simultaneously, eliminating a separate backup step after file transfer.
- Fast memory cards. UHS-II for SD or CFexpress cards prevent buffer delays between shots and speed up file transfers. A fast USB-C card reader is equally important --- transferring a full shoot in 2-3 minutes rather than 10-15.
- Spare batteries. Carry at least two fully charged spares. Real estate shoots consume more battery than you might expect because of constant LCD use for composition review.
- Quick-release tripod head. A ball head with an Arca-Swiss compatible quick-release plate lets you go from handheld to tripod in seconds.
Scaling the Workflow for Multiple Properties
For photographers handling 3-5 properties per day, the workflow scales effectively with a few adjustments.
Shoot First, Edit Later (In Batches)
When shooting multiple properties in a day, complete all your on-site work first. Shoot property A, drive to property B, shoot it, drive to property C, shoot it. Then batch-process all three listings in a single editing session.
This is more efficient than shooting and editing one property at a time because:
- You stay in "shooting mode" mentally while on site
- You stay in "editing mode" during post-processing
- Context-switching between shooting and editing wastes mental energy
- Batch AI editing is faster per-image than processing one listing at a time
For photographers managing multiple properties regularly, our multi-property photo workflow guide covers advanced batching strategies.
Template Delivery and Time Tracking
Create email and gallery templates for delivery so you are not writing the same message five times a day. Include: number of photos delivered, download link, timeline for additional services, instructions for selecting MLS photos, and contact info for revisions.
For the first month of using the AI-assisted workflow, track your time per listing. You will likely find that your average drops from the traditional 4-8 hours to under 2 hours within the first week. This data is also valuable for pricing conversations --- knowing your actual per-listing time cost ensures your rates are profitable.
Common Workflow Bottlenecks and How to Fix Them
Even with an optimized workflow, certain bottlenecks can slow you down:
Property not ready when you arrive. Send the preparation checklist 24 hours in advance (see Phase 1). If the property is still not ready, set a timer for your preparation walkthrough and stick to it. Do not spend 45 minutes staging a property that should have been prepared before your arrival.
Slow culling. Be decisive. If you are spending more than 15 seconds deciding whether to keep a photo, keep it and move on. It is faster to AI-edit one extra photo than to deliberate for 5 minutes about whether to include it.
Internet upload speed. Start uploads while you cull. Upload the first 10 selected images while you continue culling the rest. For field work, a mobile hotspot with 5G connectivity handles uploads fast enough for batch processing.
Revision requests. Deliver the quality checklist results along with your photos. When agents know you have already verified technical and content quality, revision requests drop significantly. The most common revision request --- "can you make it brighter?" --- is eliminated by using the bright and airy editing style consistently.
The 2-Hour Promise
Here is the complete timeline, start to finish:
- Pre-shoot prep: Done the night before (does not count)
- Travel to property: Varies (does not count against editing time)
- Property preparation: 15-20 minutes
- Shooting: 45-75 minutes
- File transfer and culling: 15-20 minutes
- AI batch editing and review: 20-30 minutes
- Quality review and export: 15-20 minutes
Total active work time: 1 hour 50 minutes to 2 hours 45 minutes.
For a standard 25-30 photo residential listing, 2 hours is achievable and repeatable. Larger luxury properties with 40-50 photos may push closer to 2.5-3 hours, which is still a fraction of the traditional workflow.
The time you save can be reinvested in shooting more properties (growing revenue), improving your shooting technique (growing quality), or simply having a sustainable work-life balance --- something that traditional real estate photography workflows rarely allow.
For more information on applying these composition techniques during your shoots, review our guide on real estate photo composition rules.
Related Articles
Real Estate Photography Workflow: Shoot to Delivery in Under 2 Hours
The complete workflow for real estate photographers -- from pre-shoot planning through AI-assisted editing to client delivery. Save hours per listing.
Day-to-Dusk AI Conversion: A Technical Deep Dive for Real Estate Photographers
How AI converts a daytime exterior into a magazine-quality dusk shot. Inside the model, the prompt, and the failure modes, with a checklist for getting consistent results.
New Construction Photography: Showcasing Builder Homes and Developments
A complete guide to photographing new construction homes and developments. Learn how to handle bare yards, construction debris, unfinished areas, and how AI editing can transform builder home photos.