Real Estate Photography Workflow: Shoot to Delivery in Under 2 Hours
The complete workflow for real estate photographers -- from pre-shoot planning through AI-assisted editing to client delivery. Save hours per listing.
Turnaround time is the competitive edge that separates thriving real estate photography businesses from struggling ones. Agents want their listings live yesterday. The photographer who delivers edited photos in 2 hours wins the job over the one who takes 2 days --- even if the 2-day photographer's work is marginally better.
The math is simple: faster delivery means more shoots per day, happier clients, more referrals, and higher annual revenue. In this guide, we lay out a complete, optimized workflow for real estate photographers that takes you from the initial client call through final delivery in under 2 hours of actual work time. The secret is not cutting corners --- it is eliminating the bottlenecks that slow down traditional workflows.
The Modern Real Estate Photography Workflow
The traditional real estate photography workflow looks something like this:
- Client inquiry and scheduling (email back and forth)
- Travel to property
- Shoot (1-2 hours on site)
- Travel back
- Transfer files to computer
- Cull and select images (30-60 minutes)
- Edit each photo (3-5 hours for 25-30 images)
- Export and quality check (15-30 minutes)
- Deliver to client (email, upload, or gallery)
The total from inquiry to delivery is typically 24-72 hours, with editing consuming the majority of that time. A photographer shooting two properties per day spends 6-10 hours editing in the evening --- an unsustainable grind that limits how many shoots they can take.
The modern workflow compresses this timeline dramatically by using AI editing to replace the manual editing step. Here is the optimized version:
- Client inquiry → instant booking (automated)
- Travel to property
- Shoot (45-90 minutes on site)
- Cull in-camera or on tablet (10 minutes in car after shoot)
- Upload to AI editing platform (5 minutes)
- AI editing (automatic, 2-5 minutes for full set)
- Review and QC (10 minutes)
- Deliver to client (5 minutes)
Total active work time: under 2 hours. No evening editing sessions. No 3-day turnaround. The client gets their photos before you have driven to your next shoot.
Pre-Shoot: Checklist and Client Communication
The most efficient shoots start with clear preparation. Five minutes of pre-shoot planning saves 30 minutes on site.
Client Intake
When a new booking comes in, confirm these details immediately:
- Property address and access instructions (lockbox code, meet the agent, etc.)
- Property type and approximate square footage (determines shot count and time on site)
- Any specific shots the agent wants (particular rooms, views, features)
- Listing date (determines delivery urgency)
- Occupied or vacant? (affects staging expectations and shoot time)
- Add-on services needed? (twilight, aerial, virtual staging, video)
A standardized intake form --- sent automatically when a booking is confirmed --- captures all of this without back-and-forth emails.
Pre-Shoot Checklist
Before leaving for the shoot:
- Batteries charged (camera + flash)
- Memory cards formatted
- Lens cleaned
- Tripod in car
- Wide-angle lens mounted (16-24mm)
- Flash and diffuser packed
- Property details reviewed (square footage, room count)
Time Saver
Keep a dedicated camera bag that stays packed and ready. Charging batteries and formatting cards the night before (or immediately after each shoot) means you can grab the bag and go with zero preparation.
On-Site: Shooting Efficiently
Efficiency on site comes from having a systematic approach to every property, not from rushing.
The Room Sequence
Shoot the property in a consistent sequence every time. This reduces decision fatigue and ensures you never miss a room.
Recommended sequence:
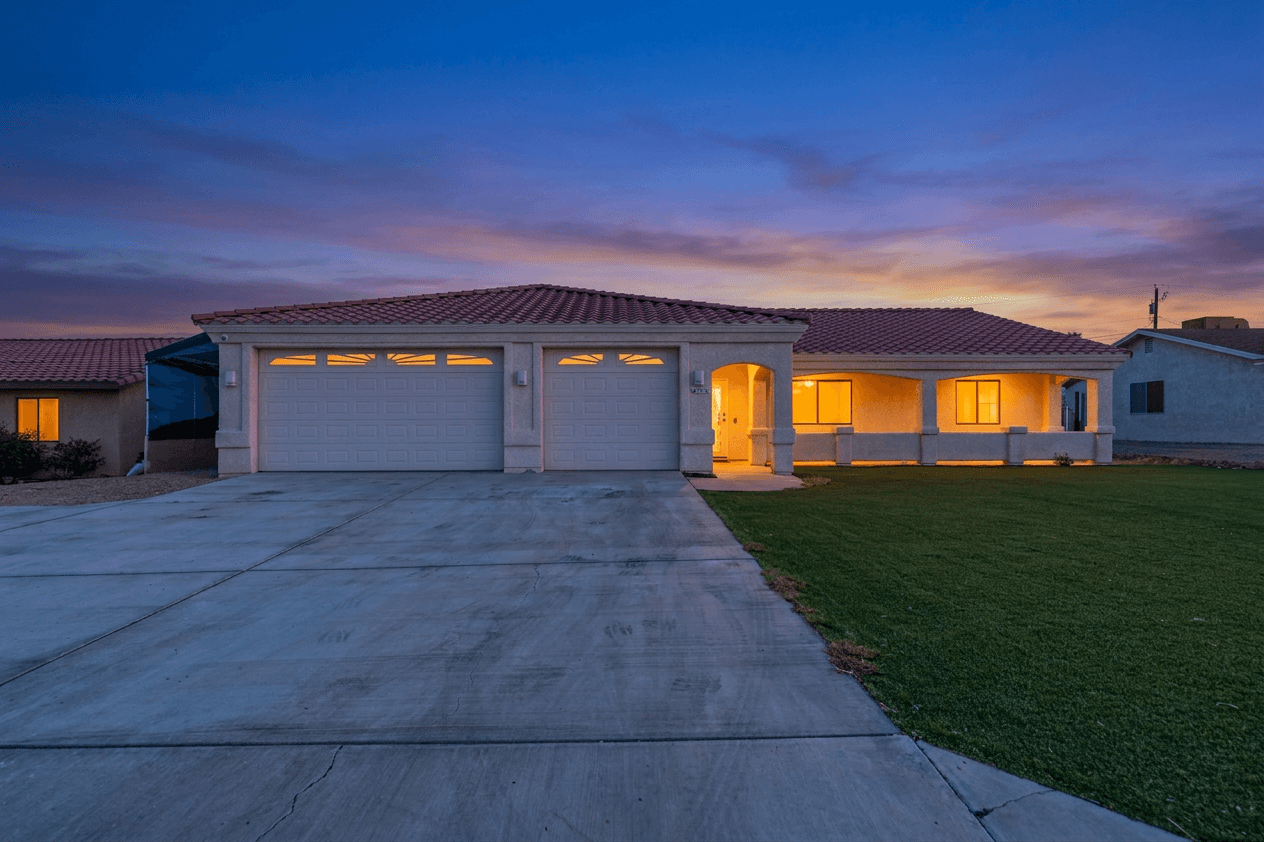
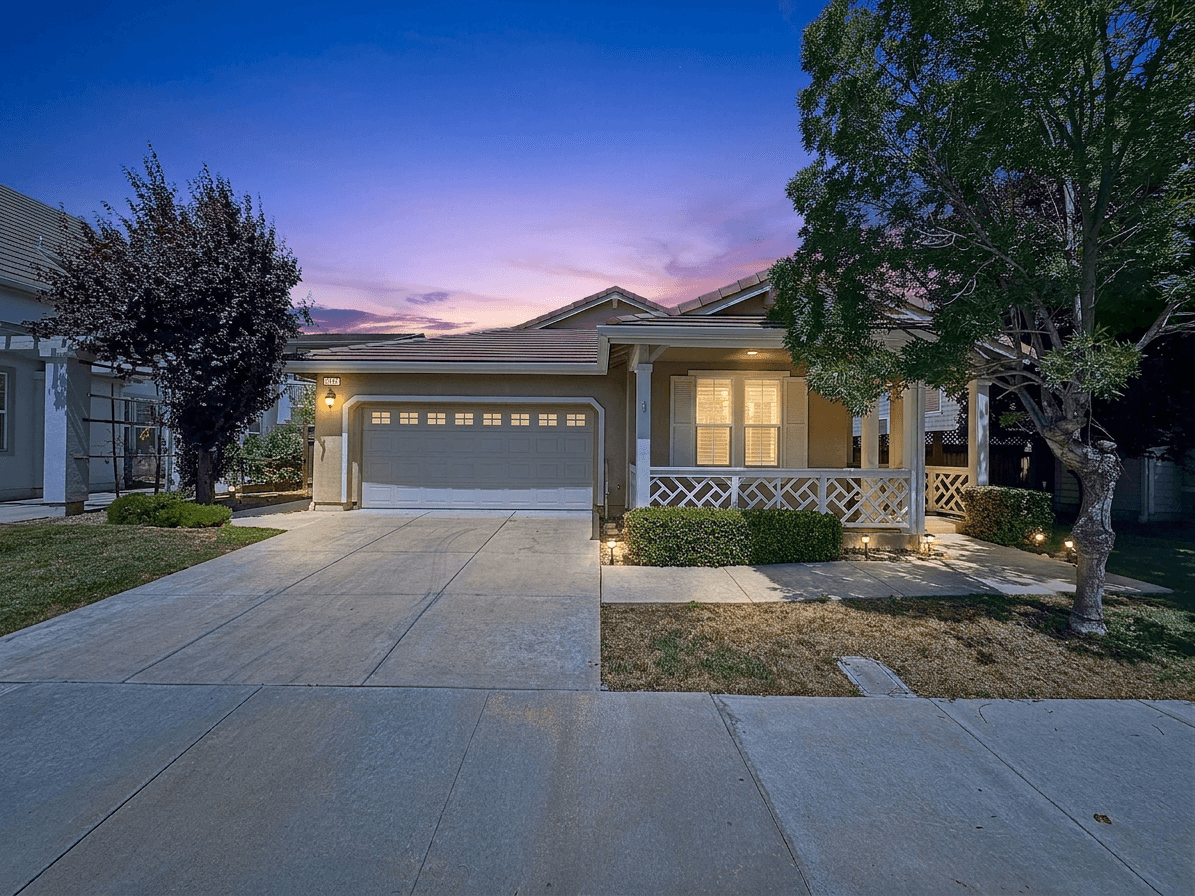
- Exterior front (hero shot) --- start here while the morning light is best
- Entry/foyer --- establishes the interior flow
- Living room / great room --- usually the largest and most important interior space
- Kitchen --- multiple angles (wide, detail, toward dining)
- Dining room --- if separate from kitchen
- Primary bedroom --- wide shot + bathroom
- Additional bedrooms --- one wide shot each
- Additional bathrooms --- one shot each
- Laundry, office, bonus rooms --- one shot each
- Backyard / patio / pool --- outdoor living spaces
- Exterior rear and sides --- additional exterior angles
- Detail shots --- fireplace, built-ins, special features
Shots Per Room
For a standard listing, target these shot counts:
| Space | Shots | Notes |
|---|---|---|
| Front exterior | 3-5 | Multiple angles, include landscape |
| Living room | 2-3 | Wide + secondary angle |
| Kitchen | 3-4 | Wide, toward island, detail, toward dining |
| Primary bedroom | 2 | Wide + en-suite bath |
| Other bedrooms | 1-2 each | Wide shot, maybe window view |
| Bathrooms | 1-2 each | Wide, detail of vanity if updated |
| Outdoor spaces | 2-4 | Pool, patio, deck, yard |
| Rear exterior | 1-2 | Show the full back of house |
| Feature details | 2-5 | Fireplace, built-ins, views |
Total: 25-40 shots for a typical 2,000-3,000 sq ft home. This takes 45-90 minutes depending on property size and condition.
Shooting Tips for Speed
Turn on all lights before you start shooting. Walk through the entire property at the beginning, turning on every light in every room. This saves you from toggling lights room by room.
Open all blinds and curtains. Natural light improves every shot and reduces the need for heavy editing later.
Close all toilet lids. One of the most common "reshoot" requests --- handle it proactively.
Use a tripod with a quick-release plate. Tripod shots are sharper and better-composed than handheld, and a quick-release plate means setup takes 3 seconds per room.
Shoot bracketed exposures. If your camera supports auto-bracketing, shoot 3-5 brackets per composition. This gives you HDR options without slowing you down.
Culling and Selection
Culling --- the process of selecting the best shots from each room --- is a critical step that many photographers spend too much time on.
In-Car Culling (The 10-Minute Method)
After the shoot, sit in your car for 10 minutes and cull directly on your camera's LCD or on a tablet with an SD card reader:
- Delete obvious misses. Out of focus, bad exposure, wrong composition.
- Select the best from each room. If you shot 3 angles of the kitchen, choose the strongest 2.
- Target 25-30 final images for a standard listing.
Target Photo Counts by Property Size
| Property Size | Target Photos |
|---|---|
| Studio / 1-bedroom | 15-20 |
| 2-3 bedroom | 25-30 |
| 4-5 bedroom | 30-40 |
| Luxury / estate | 40-60 |
More photos is not always better. A tight set of 25 excellent photos outperforms a bloated set of 50 mediocre ones. Agents and buyers appreciate curation.
Editing at Scale: Manual vs. AI-Assisted
This is where the workflow revolution happens. Here is a direct comparison of time investment for editing a typical 25-photo listing:
Manual Editing (Traditional Workflow)
| Edit Step | Time per Photo | Total (25 photos) |
|---|---|---|
| Import and organize | --- | 10 minutes |
| White balance correction | 1-2 min | 25-50 minutes |
| Exposure and tone | 2-3 min | 50-75 minutes |
| Perspective correction | 1-2 min | 25-50 minutes |
| Window pull (HDR blend) | 3-5 min | 75-125 minutes |
| Color grading | 1-2 min | 25-50 minutes |
| Final export | --- | 5 minutes |
| Total | --- | 3.5-6 hours |
AI-Assisted Editing (Modern Workflow)
| Edit Step | Time | Notes |
|---|---|---|
| Upload photos | 2 minutes | Batch upload |
| Select preset or write prompt | 30 seconds | One-time per batch |
| AI processing | 2-5 minutes | Automatic |
| Review results | 5-10 minutes | Before/after comparison |
| Re-edit any outliers | 2-3 minutes | Usually 1-3 photos need tweaking |
| Export and download | 2 minutes | Batch download |
| Total | 12-20 minutes |
The difference is not incremental. It is transformational. AI editing converts a 4-hour evening session into a 15-minute task you can complete in the car between shoots or over a coffee before driving to the next property.
For a detailed comparison of editing tools and their capabilities, see our guide to the best real estate photo editing software.
Batch Processing for Volume Shooters
Photographers who shoot 3-5 properties per day need a batch processing workflow that scales without proportional time increases.
The Batch Workflow
- Shoot all properties in the morning (stack bookings with 30-minute buffers)
- Cull each property in the car between shoots (10 minutes each)
- Upload all properties to your AI editing platform during lunch (10 minutes total)
- AI processes everything while you eat (automatic)
- Review all sets in one focused session after lunch (30-45 minutes for 4 properties)
- Deliver all sets by mid-afternoon (10 minutes)
A photographer using this workflow can shoot 4 properties, edit all of them, and deliver all final sets by 3 PM --- without working evenings.
Consistency at Volume
One of the biggest challenges of high-volume shooting is maintaining a consistent look across multiple properties. When you edit manually, fatigue, changing light conditions in your editing environment, and simple variation in judgment mean that your 4 PM edits look different from your 10 AM edits.
AI editing applies the same preset with the same parameters to every image, regardless of when you process it. A "Bright and Airy" edit at 8 AM produces exactly the same look as a "Bright and Airy" edit at 6 PM. This consistency is a significant brand advantage when agents compare your portfolio.
Client Delivery and Presentation
How you deliver photos affects client perception as much as the photos themselves.
Delivery Options
Shareable gallery links. Platforms like Twilight offer shareable links that create beautiful, branded galleries agents can share with clients and on social media. This is the most professional delivery method.
Direct download. A simple download link via Google Drive, Dropbox, or WeTransfer. Fast and functional but lacks presentation value.
MLS-ready exports. Resize and optimize photos specifically for MLS requirements (typically 1024px minimum width, sRGB color space, under 10MB). Deliver these alongside the full-resolution files.
For more on MLS requirements by platform, see our MLS photo requirements guide.
Delivery Speed as Differentiator
Set and communicate a clear turnaround time:
- Same-day delivery is the gold standard. If you can deliver edited photos within 4-6 hours of the shoot, you will stand out from every competitor offering 24-48 hour turnaround.
- Next-morning delivery is the baseline expectation in competitive markets.
- 48-hour delivery is increasingly seen as slow and may cost you repeat business.
Client Communication
Send a text or email when photos are delivered. Do not just upload silently. A simple "Hi [Agent Name], your photos for [Address] are ready! Gallery link: [URL]" reinforces your professionalism and gives the agent an immediate notification.
Pricing Your Workflow: Time Savings as Revenue
The real financial impact of an optimized workflow is not just time saved --- it is the additional revenue that time enables.
The Revenue Math
Traditional workflow photographer:
- 2 shoots per day (limited by evening editing time)
- $200 average per shoot
- 5 days per week, 48 weeks per year
- Annual revenue: $96,000
Optimized workflow photographer:
- 4 shoots per day (no evening editing needed)
- $200 average per shoot
- 5 days per week, 48 weeks per year
- Annual revenue: $192,000
The difference: $96,000 per year --- achieved not by working more hours, but by eliminating the editing bottleneck.
Alternative: Maintain Volume, Reclaim Time
Not every photographer wants to double their shoot volume. Some prefer to maintain their current schedule and use the recovered editing time for other pursuits --- marketing, networking, family, rest. An optimized workflow gives you that choice.
If you currently spend 15-20 hours per week editing, AI-assisted editing gives you back 12-18 of those hours. That is 2-3 additional days per week of free time, at no cost to your income.
The Cost of AI Editing in Context
At $39-$89 per month for a professional-tier AI editing subscription, the cost is equivalent to the profit from a single shoot --- or roughly 2-3 hours of the editing time it replaces. The ROI is immediate and obvious.
The photographers who thrive in 2026 are not necessarily better shooters than their competition. They are more efficient. They have systems that eliminate wasted time, automate repetitive tasks, and free them to focus on the work that only they can do: being on-site, building client relationships, and growing their business.
For strategies on turning your editing workflow into a revenue stream, see our guide on upselling editing services as a photographer.
Related Articles
The Efficient Real Estate Photography Workflow: From Shoot to Listing in Under 2 Hours
A step-by-step guide to an efficient real estate photography workflow. Learn how to go from arriving at a property to delivering listing-ready photos in under 2 hours using AI-assisted editing.
Managing Photos for Multiple Airbnb Properties: A Scaling Host's Workflow
Running multiple vacation rentals? Here's how to efficiently photograph, edit, and manage listing photos across your entire portfolio.
Starting a Real Estate Photography Business in 2026: The Complete Guide
Everything you need to know about launching a profitable real estate photography business. From equipment and pricing to finding clients and scaling with AI editing tools.